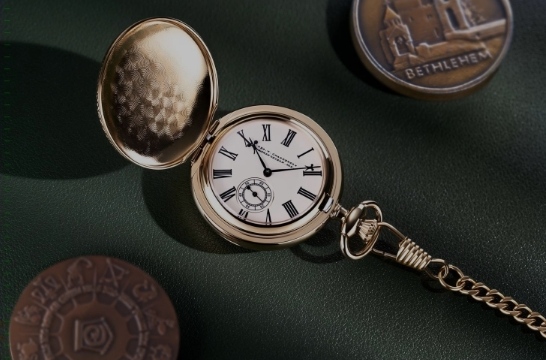
Image by Tsour Lee Adato
Playing With Light
Learning how to work with light is one of the best product photography tips I can give you.
Take your time and learn how to manipulate light, it will change the way your image mood is going to look. Today you can go to youtube and find a lot of product photography video tutorials to help you with that
Patience Matters
This really resonates with me when it comes to product photography.
I had always thought artists just paint what they see in front of them. That turns out to be totally wrong. Often, artists spend hours very patiently creating what can only be called a swatch.
What is a swatch? It is best compared to “setting the scene.”
Funny enough, the same thing applies to product photography. As a product photographer, I can spend hours setting a scene. I may even have to use tools such as carving tools and other things not related to product photography at all.
What Is a Cosmetic Prop Artist?
I love working with cosmetic prop artists. They come up with some of the most amazing product photography tips and ideas to make a product stand out.
When you work together with the best cosmetic prop artists, you learn a lot. It is easy to think they will make a product, or a photo of a product, look more artificial. That is not true. A good cosmetic prop artist has the ability to enhance the message the product or image is sending out. Don’t forget we buy with our eyes so the message has to be right.
For instance, how do you emphasize the message of a premier perfume or skincare product? Unless you have what is known as an “eye” for setting the scene or creating a swatch as it is called in product photography, it is not very easy to do.
Choose the right cosmetic prop artist and the results are spectacular.
Working with Different Textures

Image by Tsour Lee Adato
One of my personal top product photography tips is working with different textures.
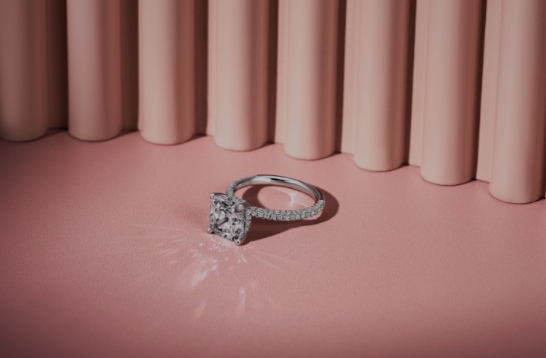
When it comes to shooting jewelry, you would have thought a perfect choice would be to use live models. That is okay some of the time, but not all of the time.
If you have a very delicate piece of jewelry, it is often better emphasized if you shot it against a contrasting background.
Flatlay photography is one way you can show off special pieces of jewelry. If you are shooting a diamond ring set with a red ruby, try using a contrasting color as a background.
That probably means you have to use a piece of fabric. Velvet is a favorite of mine as it adds a luxurious feel to the image. Experiment with different styles. In general, I would not recommend laying down the fabric flat. Look closely at a velvet fabric and you will notice it reflects light in an interesting way.
Yes, lay it down when you want to photograph the object from above, but the fabric does not have to be flat. It is easy to add interest by folding it in a certain way or even creating a textured “feel” by making a few creases appear in the fabric.
Simply pick the fabric up, scrunch it in your hand, and then place it down. Under the studio lights and camera, it will look really different.
Of course, you can also shoot a beautiful ring laid on a cushion or fixed to a stand. Another one of my favorite product photography tips is letting the background fade out of focus.
Build A Frame

Image by Tsour Lee Adato
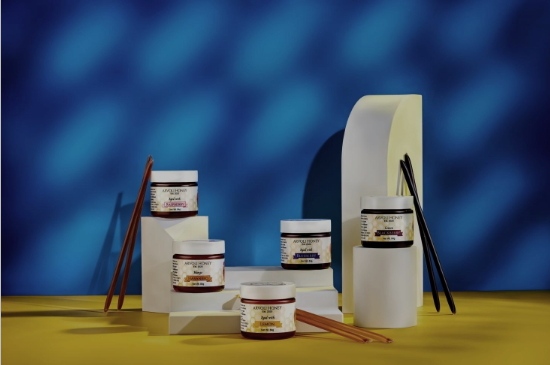
When you are photographing larger products and want to create a scene related to the product, you can build a large frame.
I did not realize this, but this was how famous French artists Henri Rousseau worked. Looking at his famous work the Snake Charmer, you would have thought it was painted from his mind’s eye or from an outdoor scene.
Instead of working from an imaginary scene, he actually created a scene using a large frame. He placed plants inside the frame and even made up a fake river. As he painted, he stood back and looked at the scene. Apparently, he asked a live model stand in the frame to get the perspective of the human form more accurate.
That is going to extreme, but if it fits in with your assignment, why not? I let all kinds of crazy things inspire my product photography tips!
Don’t forget, you can also hang products up to make them look more interesting.
Working With Carving Tools
One of my favorite product photography tips is learning how to work with carving tools or small paint spatulas to create swatches.
When you want to create a specific colored background using a single color or several colors, this technique adds a lot of interest.
Remember that a photography backgrounds does mean having one solid colored background. You can play with different colors emphasizing the product or the brand.
With a carving tools, you can easily create swatches or different color patterns. Acrylic paints let you quickly build up a certain type of texture. Using different tools, you can change the feel.
A chisel can be used to create interesting textures.
Another one of my top product photography tips is learning how to blend paints. Once again, working with acrylic paints is best.
Other unconventional “tools” are also used to create textures. Mascara brushes are great for adding interesting colors to a background. If you are shooting makeup or skincare products, try using mascara brushes to create swatches and color samples. Incidentally, it works with nail polish as well.
Color Psychology
What is Color Psychology? Colors evoke certain feelings and emotions in people. It can even influence the way we think food is going to taste.
The color red tells us the dish may taste like tomato and could be a bit spicy. Red is also associated with strength and love.
Green represents nature and healing. So, if you are photographing a natural skincare product you should add the color green. Purple is another good color for skincare as it represents luxury.
Colors are also associated with certain meanings and connotations. When we see a ring displayed on a white background, we often immediately think wedding ring.
Finally
There is no end to what you can say about product photography tips. Sometimes, it is just about being brave. Try not to worry too much. Instead, experiment with your own ideas. If they work, share them with other product photographers.
Advertising disclosure: We may receive compensation for some of the links in our stories. Thank you for supporting LA Weekly and our advertisers.
